How to Install Air Admittance Valve Under Kitchen Sink
This is a subtitle for your new post

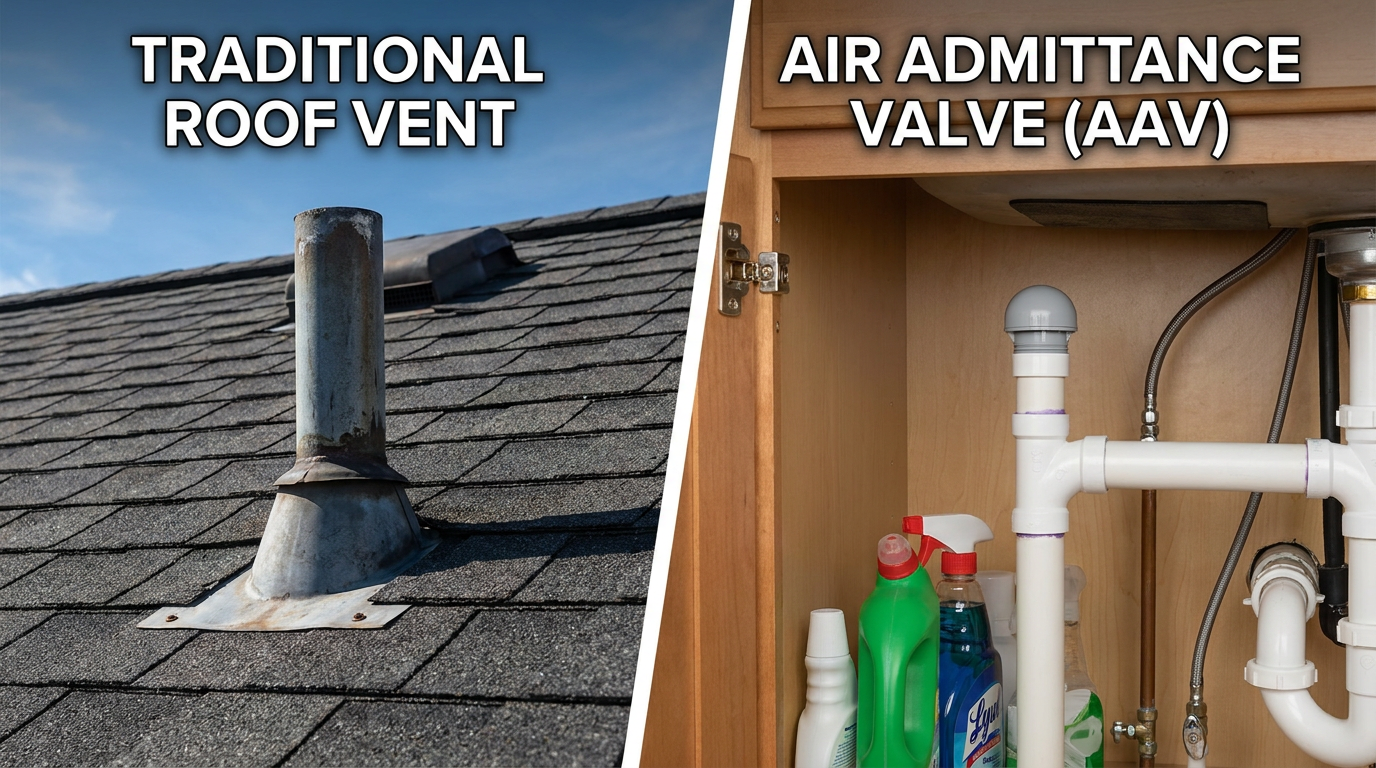
Slow draining water in a kitchen sink usually signals a venting problem rather than a physical clog. Standard venting can be difficult to route during a kitchen remodel, especially when that sink sits on an island or against an interior wall. An air admittance valve offers an easy, code-compliant solution that keeps your drain running smoothly without tearing open walls.
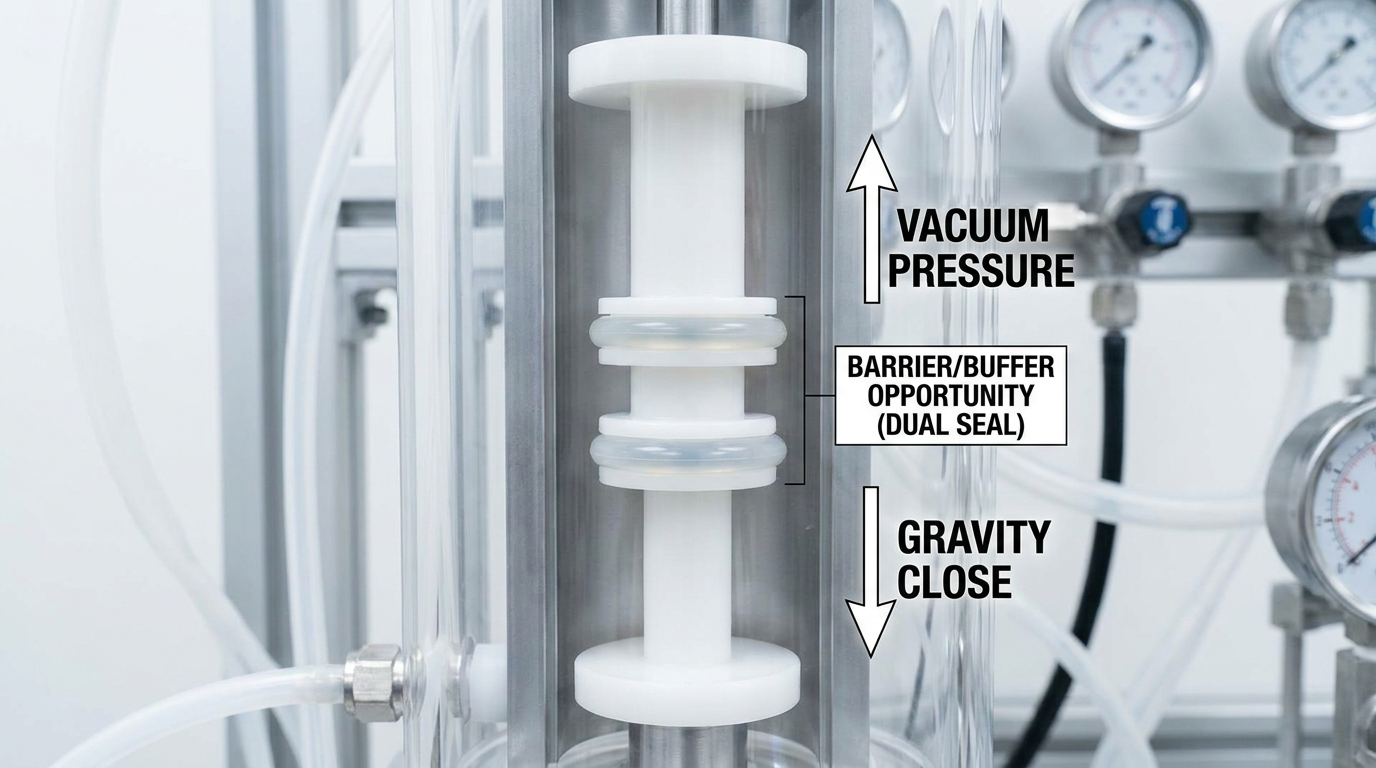
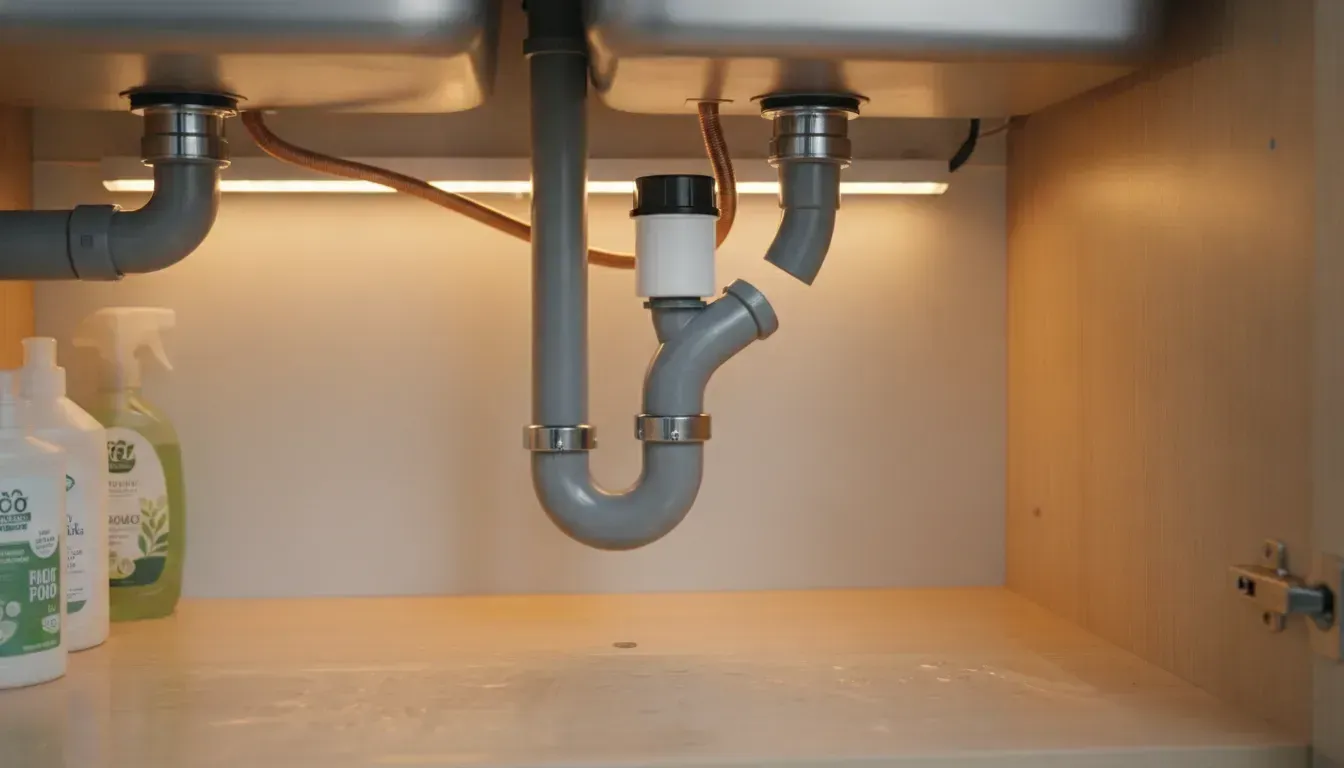
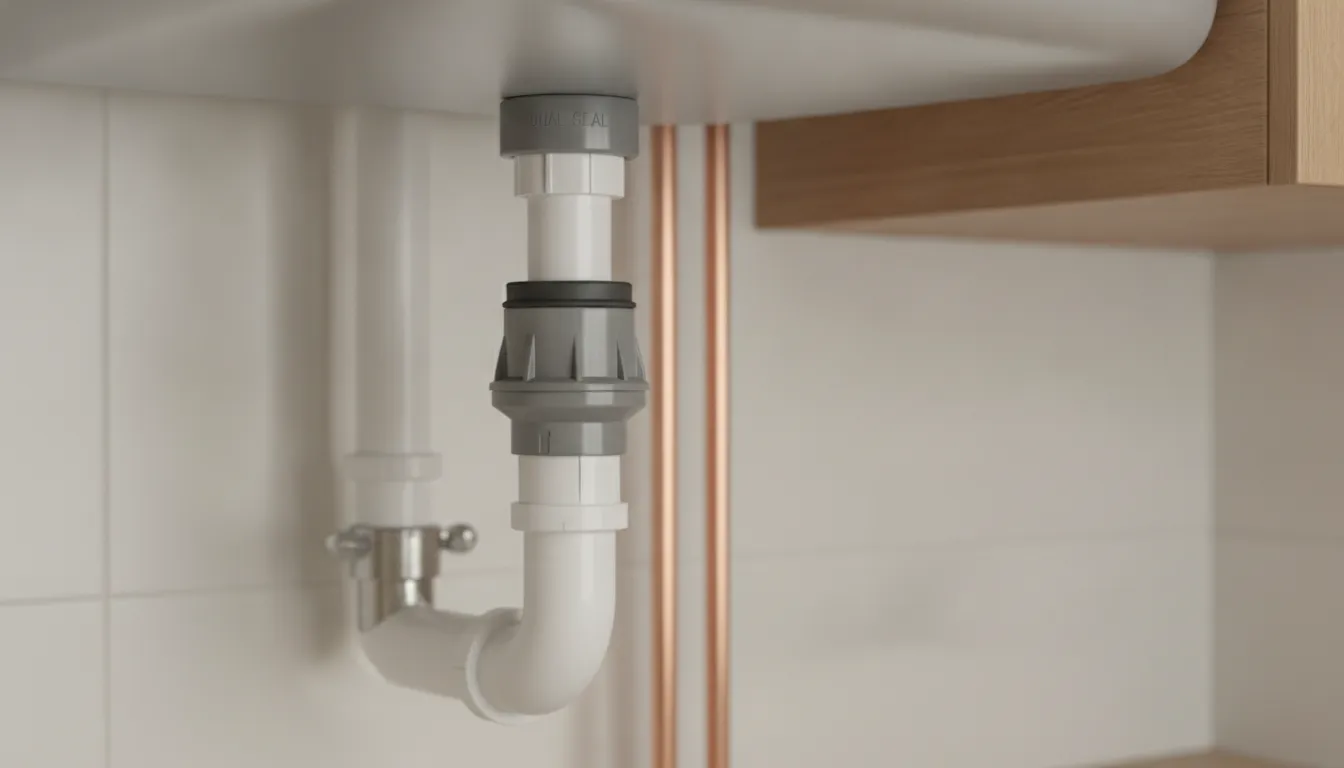
Knowing how to install air admittance valve under kitchen sink cabinets is a straightforward DIY project. The task takes about one to two hours. To start, cut the waste pipe after the trap and install a new sanitary tee. Run a vertical section of pipe at least four inches above the top of the horizontal branch drain. Apply thread seal tape to the AAV threads and screw the valve onto the vertical adapter. The valve lets air into the system when water flows, but its internal seals close to keep sewer gases out of your home.
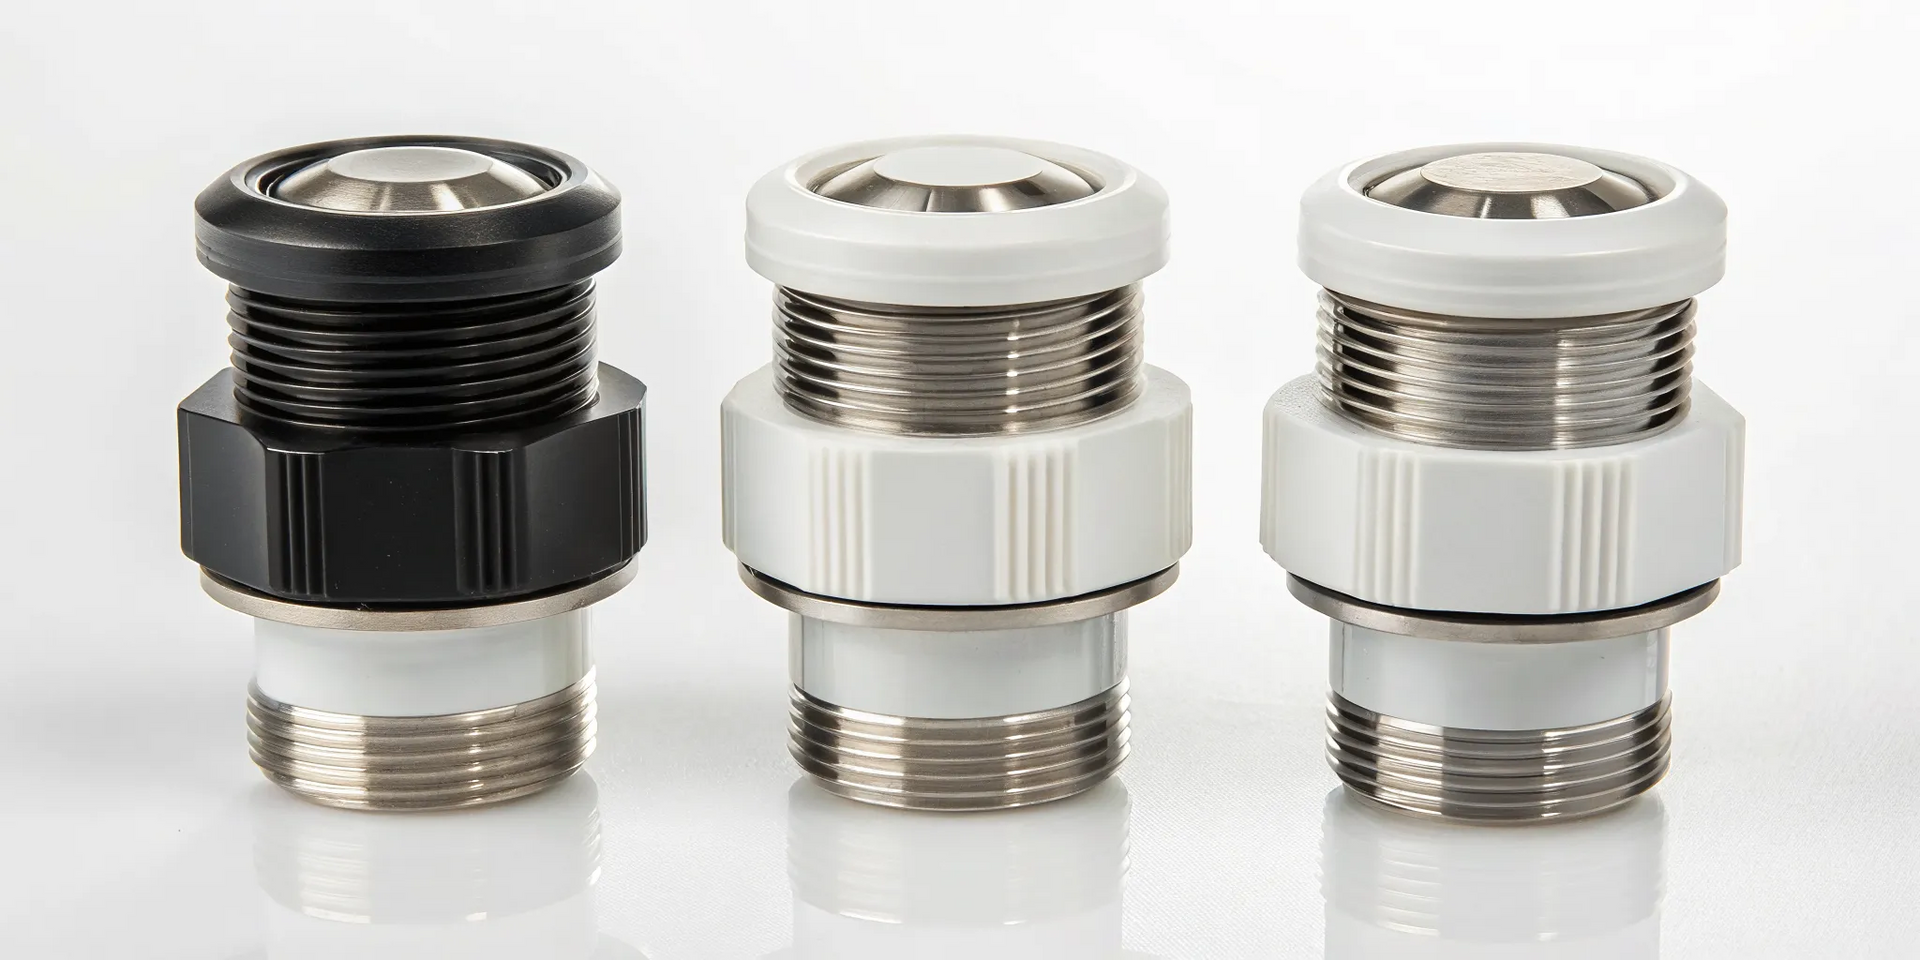
Using a Tuuber Dual-Seal 20 AAV ensures your system complies with ASSE 1051 standards. It also provides a failsafe double seal that protects against gas leaks even if one seal ever fails.
Planning your pipe layout requires the correct tools and fittings for the job. Our Air Admittance Valve Installation: How-To Guides for Every Application offers general tips for many home plumbing projects. The prep work begins with gathering the right components and understanding the local code requirements for your area.
How To Install Air Admittance Valve Under Kitchen Sink: What You Need Before Installing an AAV Under a Kitchen Sink
Before you start, gather the tools and materials below. Most of these items are common plumbing supplies available at any hardware store.
- Measuring tape
- Plastic pipe cutter or hacksaw
- Adjustable wrench
- Screwdriver
- Safety glasses
- Bucket and towels
Materials Required
- 1-1/2 inch Tuuber Dual-Seal 20 Air Admittance Valve (8 DFU capacity)
- 1-1/2 inch PVC or ABS pipe and fittings (sanitary tee, coupling)
- PVC primer and PVC cement or ABS cement
- Thread seal tape (PTFE tape)
- Plumber's putty
Cost and Time Estimate
Installing an AAV under a kitchen sink costs between $20 and $50 in materials. The Tuuber 1-1/2 inch AAV costs $32 to $42 and includes a Limited Lifetime Warranty for residential use. Expect the installation to take one to two hours for someone with basic plumbing experience. Beginners should plan for the full two hours to work at a comfortable pace.
Before You Begin: Check Local Codes
IPC Section 918 and IRC Section P3114 permit air admittance valves in most residential applications when the valve complies with ASSE 1050 or ASSE 1051 standards. Tuuber AAVs meet both standards. However, building codes vary by jurisdiction. Check with your local building department to confirm that AAVs are allowed in your area before starting the installation. Some UPC jurisdictions may require case-by-case approval.
How to Determine the Correct AAV Size for Your Kitchen Sink Drain
Selecting the right size AAV is critical for proper drainage and code compliance. The valve must have enough Drainage Fixture Unit (DFU) capacity to handle the total load of all fixtures it serves. A standard kitchen sink with a garbage disposal needs only 2 DFUs, so even the smallest 1-1/2 inch AAV provides more than enough capacity. For complete DFU specifications, see our AAV technical specifications page.
Feature Tuuber 1-1/2 in Tuuber 2 in Oatey Sure-Vent Studor Mini-Vent Seal Type Dual-seal patented Dual-seal patented Single-seal silicone Single-seal elastomer DFU Rating 8 DFU 10-12 DFU 2-500 DFU 2-160 DFU Opening Pressure -0.01 psi -0.01 psi -0.02 to -0.03 psi -0.02 to -0.03 psi Connection 1-1/2 in NPT 2 in NPT 1-1/2 or 2 in slip 1-1/2 or 2 in Warranty Limited Lifetime Limited Lifetime Limited Limited Failure Mode Failsafe dual-seal Failsafe dual-seal Single point failure Single point failure For a standard kitchen sink, the 1-1/2 inch AAV is the right choice. The Tuuber model delivers 8 DFU capacity, which covers a kitchen sink plus an adjacent dishwasher. If you need to vent a larger system that exceeds 8 DFU, step up to the 2 inch model that handles 10-12 DFU.
Step-by-Step: Connecting an Air Admittance Valve to the Drain Arm
Follow these numbered steps carefully. Check each connection before moving to the next step.
- Confirm local code approval. Before cutting any pipe, verify that your local building department allows AAVs for your specific application. IPC and IRC jurisdictions generally permit them. UPC jurisdictions may require case-by-case approval.
- Identify the installation position. The AAV must be at least 4 inches above the top of the horizontal branch drain that serves the fixture being vented. It must also sit in an accessible location inside the cabinet so it can be inspected and replaced. The valve must be vertical within 15 degrees of true plumb.
- Cut and dry-fit the vertical riser. Cut a section of PVC or ABS pipe to act as the vertical riser between the sanitary tee and the AAV adapter. Dry-fit all components first to confirm the fit and orientation before applying cement.
- Prepare the pipe connections. For PVC pipe, apply purple primer to the outside of the pipe and the inside of the fitting, then apply PVC cement. Join with a slight twisting motion and hold for 15 seconds. For ABS pipe, apply ABS cement the same way.
- Apply thread seal tape. Wrap thread seal tape clockwise around the male NPT threads of the Tuuber AAV. Use three to four wraps, keeping the tape smooth and tight. This tape prevents gas leaks at the threaded connection.
- Install the threaded adapter. Screw the adapter into the top of the vertical riser or directly onto the pipe fitting. Hand-tighten the adapter, then give it an additional quarter turn with a wrench. Do not overtighten, as plastic threads can crack.
- Screw the AAV onto the adapter. Thread the Tuuber AAV onto the adapter by hand until snug. The valve must stay vertical within 15 degrees of plumb. A gentle quarter turn with a strap wrench is acceptable for alignment.
- Connect the drain arm. Reconnect the trap arm to the sanitary tee inlet using slip-joint nuts and washers. Tighten hand-tight plus a slight turn with pliers. Run water briefly to test for drips.
For detailed Tuuber-specific installation diagrams, refer to the official Tuuber AAV installation instructions. The AAV must remain accessible for inspection and replacement. Do not box it behind permanent panels or fill the cabinet with stored items that block access.
Common Kitchen Sink AAV Mistakes and How to Avoid Them
Even experienced DIYers can make small errors during AAV installation. Here are the most common mistakes.
Installing Below 4 Inches Above the Branch Drain. This is the most frequent error. ASSE 1051 requires a minimum 4 inch clearance. A valve placed too low may sit below the flood rim of the fixture, creating a code violation. Always measure from the top of the horizontal branch pipe.
Installing at an Angle Greater Than 15 Degrees. When tilted, the sealing mechanism may not close properly under gravity. A tilted valve also wears unevenly over time. Use a level during dry-fitting to confirm the riser pipe is straight.
Installing in an Unconditioned Space. Tuuber AAVs are rated for temperatures between -40 degrees F and 150 degrees F. Do not install the valve in an unheated crawl space, attic, or outdoor location where temperatures fall outside this range.
Using the Wrong Pipe Cement. PVC pipes require purple primer followed by PVC cement. ABS pipes require ABS cement. Using the wrong cement produces a weak joint that can separate under pressure.
Forgetting to Leave Room for Access. Building codes require AAVs to remain accessible for inspection and replacement. Do not install the valve where a garbage disposal, water filter, or stored items will block access.
Choosing a Single-Seal AAV. Industry data shows single-seal AAVs experience a 15 to 20 percent failure rate within ten years. When the single seal fails, sewer gas enters the home. Dual-seal AAV technology eliminates this risk with a second, independent sealing surface.
Skipping the Local Code Check. Building codes vary by state and municipality. IPC and IRC jurisdictions broadly accept AAVs, but UPC jurisdictions in parts of California, Nevada, and Oregon may restrict or prohibit them.
Testing Your Installation: Verifying Seal Integrity and Drainage Flow
Once you know how to install air admittance valve under kitchen sink plumbing, you need to verify the system works correctly. Testing takes only a few minutes.
Run Water and Listen for Gurgling. Fill the kitchen sink basin with several inches of water and pull the plug. The water should drain quickly and smoothly with no gurgling sounds. Gurgling indicates the valve is not opening correctly or the venting capacity is insufficient.
Check for Leaks at Connections. While the water drains, inspect each connection point: the threaded joint where the AAV meets the adapter. The slip-joint nuts on the trap, and the cemented joints on the pipe. Any moisture means the seal is not tight.
Listen for the Valve Mechanism. As water starts flowing, listen near the AAV for a soft click or hissing sound. This is the valve opening to admit air. When the water stops, you should hear the valve close again.
Perform the 24-Hour Odor Test. Close the cabinet doors and leave the system undisturbed for 24 hours. Then open the cabinet and sniff around the AAV. You should smell nothing. If you detect sewer gas odor, the seal is not holding. The Tuuber Dual-Seal 20 uses two independent seals, so even if debris blocks one, the second keeps gas contained.
Verify Code Compliance. Confirm the AAV is at least 4 inches above the horizontal branch drain, within 15 degrees of vertical, and fully accessible. For more on how AAVs work, see our complete guide on air admittance valves. The Tuuber Dual-Seal 20 comes with a Limited Lifetime Warranty for residential use.
Frequently Asked Questions About Installing an AAV Under a Kitchen Sink
Can an AAV be installed under a kitchen sink?
Yes, an air admittance valve can be installed under a kitchen sink. IPC Section 918 and IRC Section P3114 permit AAVs for individual fixture venting when the valve meets ANSI/ASSE 1050 or 1051 standards.
Where is the proper placement of the air admittance valve under the sink?
The AAV must be at least 4 inches above the horizontal branch drain, inside the building envelope, accessible for inspection, and vertical within 15 degrees of plumb.
Does an air admittance valve go before or after the trap?
An AAV goes after the trap on the drain side. The correct flow path is fixture drain to trap, trap to trap arm, then AAV through a sanitary tee.
What is the downside of an air admittance valve?
AAVs are not approved in all jurisdictions, particularly UPC-adopting areas. They require access for inspection. Single-seal AAVs have a 15 to 20 percent failure rate within 10 years.
What size AAV do I need for a kitchen sink?
A standard kitchen sink needs a minimum of 2 DFU. A 1-1/2 inch AAV is standard. The Tuuber 1-1/2 inch Dual-Seal 20 provides 8 DFU.
Ready to Install Your AAV? Tuuber Valves Can Help
Choosing the right air admittance valve is the most important decision in your installation project. The Tuuber Dual-Seal 20 provides the only patented dual-seal design on the market. It gives you failsafe protection against sewer gas leaks that single-seal valves cannot match. Every Tuuber AAV complies with ASSE 1050 and ASSE 1051 standards and comes with a Limited Lifetime Warranty for residential use.
Call us today at (877) 788-8237 to speak with our team. You can also reach us at m.weinstein@tuubervalves.com. Our distribution center in Middlesex, New Jersey ships across the United States.
The body content of your post goes here. To edit this text, click on it and delete this default text and start typing your own or paste your own from a different source.